Apple TV Setup
This guide covers everything you need to get Arrivals Board running on your Apple TV, from first launch to a fully configured board on the big screen.
First launch
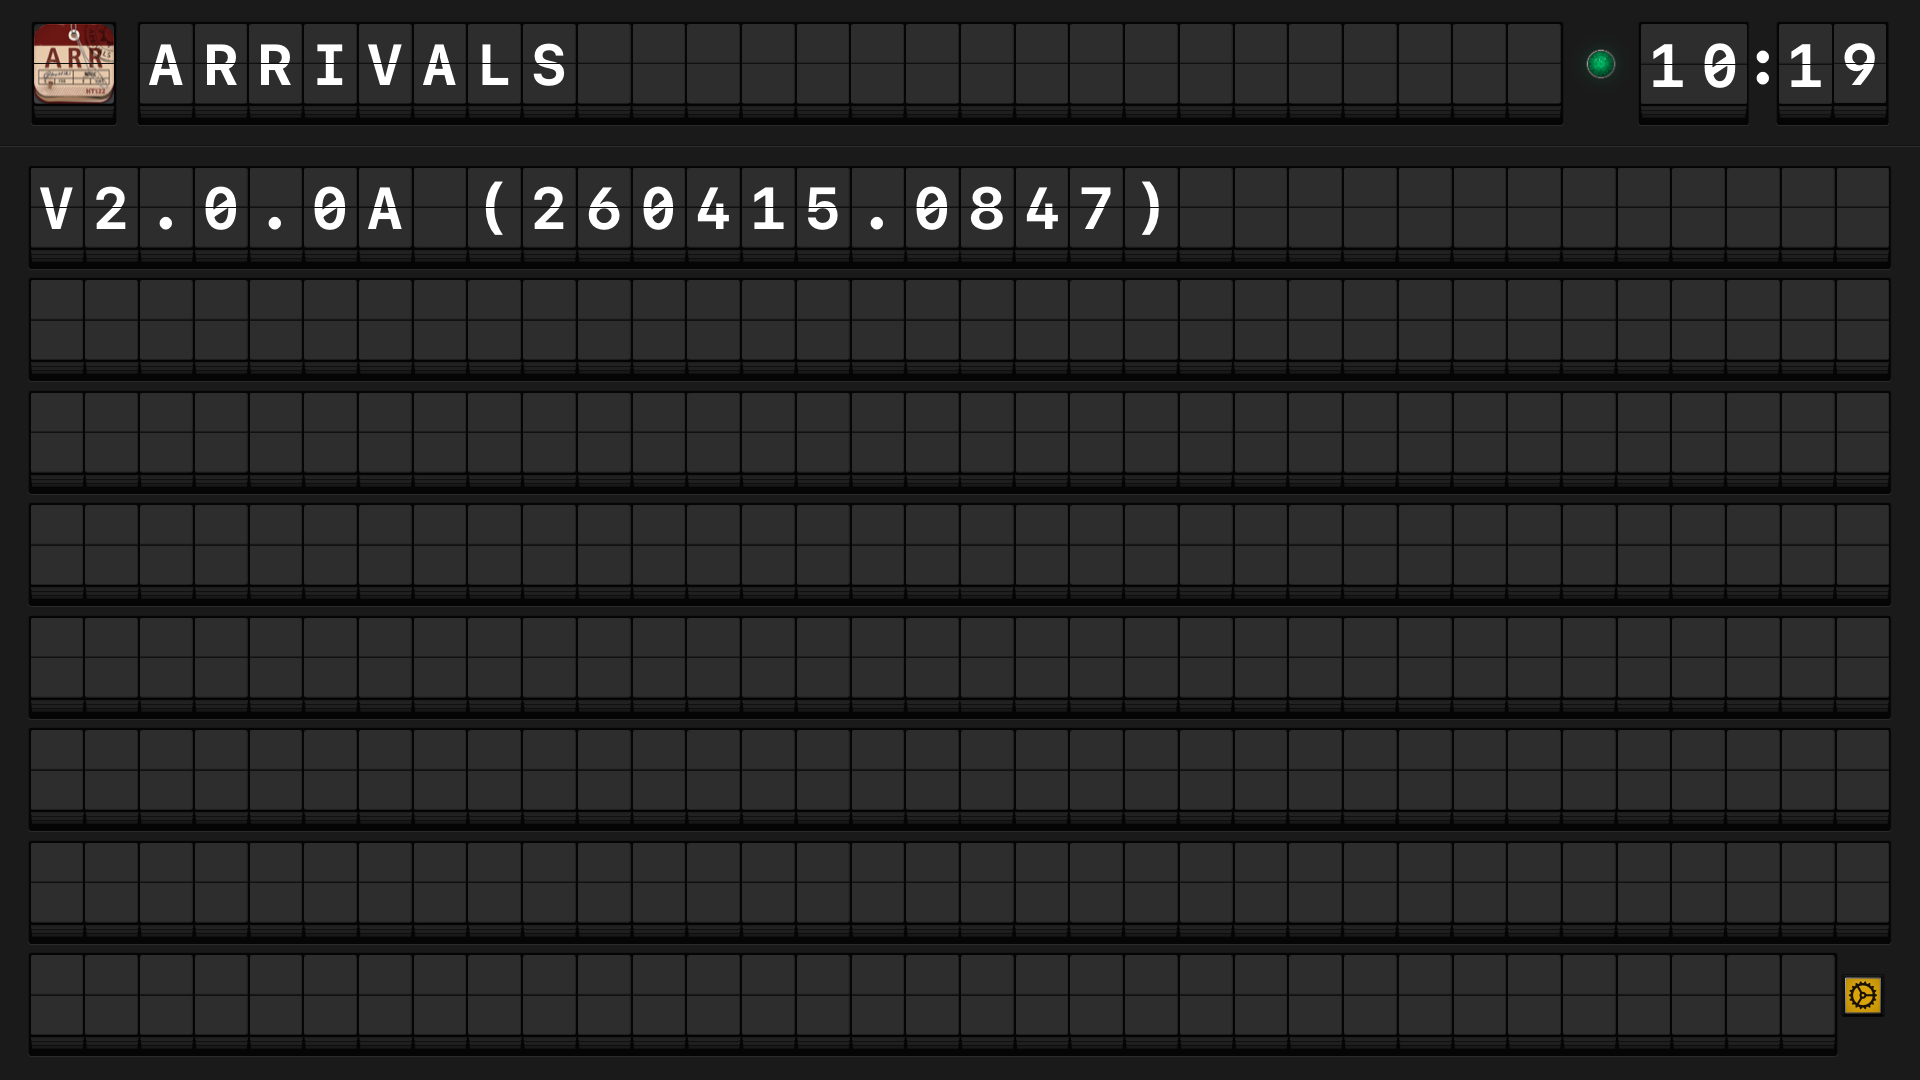
When you open Arrivals for the first time, the board fills your TV with a boot sequence. Rows flip into place from top to bottom, just like a real split-flap display powering on. After a few seconds the board settles and shows a set of welcome messages.
Already set up on iPad?
If you have already configured Arrivals on your iPad, your sources and settings will sync automatically via iCloud. You may see your messages begin appearing right after the boot sequence -- no additional setup required.
Using the Siri Remote
The Siri Remote is your primary way to interact with Arrivals on Apple TV.
| Remote action | What it does |
|---|---|
| Press Play/Pause | Opens the Settings menu |
| Swipe left on the touch surface | Advances to the next message |
| Swipe right on the touch surface | Returns to the previous message |
| Press Select (click) on a message | Opens the linked content (displays a QR code you can scan with your phone) |
| Press Menu / Back | Closes Settings or dismisses an overlay |
| Hold Select on a message | Shows message details and source info |
Tip
If you are using an older Siri Remote without a touch surface, use the directional ring -- press left or right to navigate between messages.
Adding a source
Because Apple TV does not have a keyboard or web browser for sign-in flows, some sources use QR code authentication.
Adding a source with QR code auth (e.g., Mastodon)
- Press Play/Pause on the Siri Remote to open Settings.
- Navigate to Sources > Add Source.
- Select the source you want to add (for example, Mastodon).
- A QR code will appear on screen.
- Scan the QR code with your iPhone or iPad camera. This opens a sign-in page in your mobile browser.
- Sign in and authorize Arrivals. Once complete, the Apple TV will detect the authorization automatically.
- The source is now active and messages will begin arriving on the board.

Adding an RSS feed
RSS feeds do not require sign-in, so you can add them directly:
- Press Play/Pause to open Settings.
- Navigate to Sources > Add Source > RSS / Atom.
- Use the on-screen keyboard to enter the feed URL, or select a URL from your iCloud clipboard if you copied one on another device.
- Select Done. Headlines will start appearing on the board.
Use Universal Clipboard
Copy an RSS feed URL on your iPhone or iPad, then paste it on Apple TV. This saves you from typing long URLs with the on-screen keyboard.
Adjusting settings with the remote
- Press Play/Pause to open Settings.
- Swipe up and down to navigate between setting categories.
- Swipe left and right (or press the directional buttons) to adjust values like flip speed, row count, and volume.
- Press Menu / Back to save and return to the board.
Key settings you may want to adjust:
| Setting | Where to find it | Notes |
|---|---|---|
| Row count | Settings > Display | More rows work well on large TVs |
| Flip speed | Settings > Display | A slower speed suits living room viewing |
| Sound volume | Settings > Sound | Or mute entirely for a silent display |
| Color scheme | Settings > Display | Dark schemes look great in dim rooms |
| Screen saver | Settings > Screen | Configure behavior when the board is idle |
iCloud sync from iPad
Some sources that require complex sign-in flows (such as Threads) may not yet support QR code authentication on Apple TV. For these sources, the recommended workflow is:
- Set up the source on your iPad (see iPad Setup).
- Make sure both devices are signed in to the same iCloud account.
- The source configuration syncs automatically. Within a few moments the source will appear on your Apple TV and messages will begin flowing.
Note
iCloud sync requires both devices to be on the same iCloud account with iCloud Drive enabled for Arrivals. Check Settings > Apple ID > iCloud > Apps Using iCloud on your iPad if sync does not seem to be working.
Next steps
- Remote Controls -- Full guide to Siri Remote and third-party remote support.
- Display Rotation -- Run the board in portrait mode on a rotated TV or monitor.
- QR Authentication -- Details on how QR code sign-in works for each source.
- Add more sources -- Connect Bluesky, Weather, Calendar, MQTT, and more.